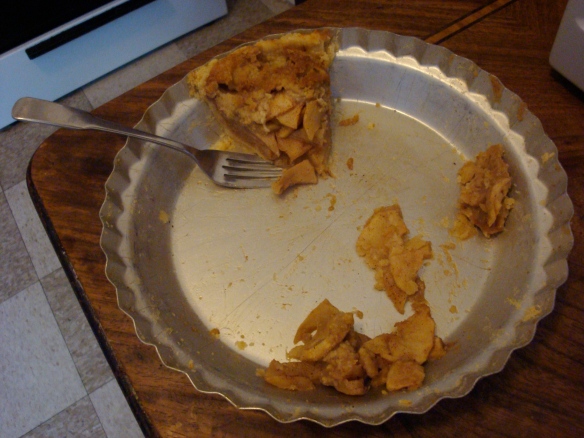
Thanksgiving has always been my favorite holiday, in spite of, not because of, the food. As a kid, I loved dressing up and sitting down to a meal with all 40 members of my extended family. I loved drinking sparkling grape juice and eating Uncle Dale’s cinnamon bread. However, most of my green bean casserole usually wound up on my older brother’s plate. Of course, I’m older and wiser now and I actually enjoy eating root vegetables, so the Thanksgiving meal has captured my attention.
While I have mastered the art of stuffing and given up on green bean casserole altogether, I haven’t given much thought to pumpkin pie, the real star of the Thanksgiving meal. That is, until I acquired a pie pumpkin from my sister-in-law last week. After baking it whole and pureeing the flesh, I had just enough pumpkin for a pie.
I used the traditional recipes from the Joy of Cooking for the crust and filling, but I think what made the pie taste so great was the spices. Last Christmas, I received a variety of Penzey’s Spices from Glenn’s grandma. You could really taste the cinnamon, ginger, cloves, and nutmeg in the finished pie. It was a rich, creamy, and not too sweet.
Joy says that custard pies spoil after two days, so I better go grab my fork and head to the fridge for the leftovers!
Pumpkin Puree:
In the fall, you should be able to buy a pie pumpkin at your regular grocery store or at the farmers’ market. Most books say to buy a three-pound squash to get two cups of puree (enough for one pie). My pumpkin was almost two pounds and yielded exactly two cups of puree.
Use a sharp knife to cut a few slits (air vents) in the top of the pumpkin so that it doesn’t explode.
Place the pumpkin on a four-sided baking sheet.
Bake at 375 for 45 minutes to 1 and 1/4 hours. Test tenderness with a fork. When the flesh is easily pierced, remove from oven.
Cut in half from stem to blossom and let cool.
Remove seeds and skin.
Puree in a food processor until smooth.
Pie Crust (One Nine-Inch Crust):
I am a firm believer that you should always make your pie crust from scratch. From-scratch crusts are not difficult to make and are almost always better than their store-bought counterparts. This recipe uses a food processor, which makes it almost fool-proof, but it’s important to freeze the fats so that they don’t melt in the processor.
1 1/4 cups flour
1/2 tsp. sugar
1/2 tsp. salt
1/4 cup shortening, cut into pieces and frozen
4 Tbs. butter, cut into pieces and frozen
8 tsp. water, ice cold
In a food processor, combine the flour, sugar, and salt. Add the shortening and butter. Pulse in short bursts until the fat is cut into small pieces and well-incorporated into the flour. The mixture should look grainy at this point. It’s better to under-process than over-process.
Drizzle 4 tsp. of water (half) over the flour mixture. Pulse 2-3 times. Remove lid, squeeze mixture between your fingers. If it holds together, remove it from the processor. If not, add the remaining 4 tsp. of water and process in short bursts.
Using your hands, form the dough into a ball and place on a floured work surface. Roll into a large circle. Use a pastry scraper or other flat object to scrape off counter, drape over rolling pin, and transfer to a 9-inch pie pan.
Cover the crust with aluminum foil and fill with rice, beans, or pie weights. Bake on the lower rack of the oven at 400 degrees for 20 minutes. Remove foil and weights. Bake uncovered for 5 minutes. Brush with a beaten egg yolk and bake 5 minutes more. Remove from oven.
Pumpkin Pie Filling:
2 eggs, beaten
2 cups pumpkin puree
3/4 cup milk
3/4 cup heavy cream
1/2 cup sugar
1/3 cup brown sugar
1 tsp. ground cinnamon
1 tsp. ground ginger
1/2 tsp. ground nutmeg
1/4 tsp. ground cloves
1/2 tsp. salt.
Whisk all ingredients together in a large bowl. Let stand at room temperature until the crust is ready to be filled. (To bring my filling to room temperature, I placed it on the stove while the crust baked in the oven.) Pour mixture into the still-hot, prebaked and glazed pie crust. Bake at 375 for 35-45 minutes. When it’s time to remove the pie, the filling will be set on the outside, but should be pretty wobbly in the center. It will continue to set as it cools on the counter. Cool to room temperature before serving.

 My family has never been big on desserts. Our favorite thing about ice cream: the cone. Our favorite thing about pie: the crust. For a greater crust to filling ratio, my mom always made apple pizza. So, of course, I always make apple pizza. Until last weekend when Glenn put his foot down and said, I’m making my mom’s apple pie.